Powerful images focus on the subject by removing things that distract and take away the focus of the image. In this latest video, I will teach you how to quickly and easily remove distractions from your images using Photoshop CC.
I will go over these essential tools:
- The Clone Stamp Tool
- The Spot Healing Brush Tool
- The Healing Brush Tool
- The Patch Tool
All of these tools are powerful in their own way at removing distractions from your images. Each has its inherent positive and negative side, and with practice, you will come to easily recognize which tool to use and when.
Watch the video to see these tools in action.
The Clone Stamp tool is used to make a direct copy of one spot in the image to the next. To use this tool, select it and then hold the Option or Alt key down and click on where you would the source to be. Then, click on the area of the image you would like to clone and paint in the changes.

The Spot Healing Brush Tool
The Spot Healing Brush tool is used to blend to areas together. Instead of making a direct copy of an area, like you do with the Clone Stamp tool, the Healing Brush tools are used to blend areas. With the Spot Healing Brush tool, you do NOT need to pick a source. Instead, Photoshop uses algorithms to determine the best location for a source.

It’s interesting, Photoshop is actually pretty good at selecting a source to blend with the area you are fixing. You do need to be careful, as it is not perfect. But, it really is pretty dang good!
The Healing Brush Tool
The Healing Brush tool is like the Spot Healing Brush tool in that it is used to blend to areas together. However, when using the Healing Brush tool, you are required to select the source location. This is done by holding the Option (Mac) or Alt (PC) key down and clicking on the image where you feel is the best spot to act as the source.

Which tool do I use?
One of the questions I get asked so often is, “how do I know which tool to use?” This can be a tough question to answer, as it really does depend on the specific situation. As a general rule of thumb, I would suggest that most of the time you want to blend things together, rather make a direct clone or copy of something.
This means, that the Healing Brush and Spot Healing Brush will be the answer more often than the Clone Stamp tool. But again, each image is different and will require different tools to address its problems.
In this image, the Spot Healing Brush tool was the right tool to use. It easily allowed me to remove the seaweed in the bottom left area of the image, and the swimmers from the water. Take a look below at the before and after.


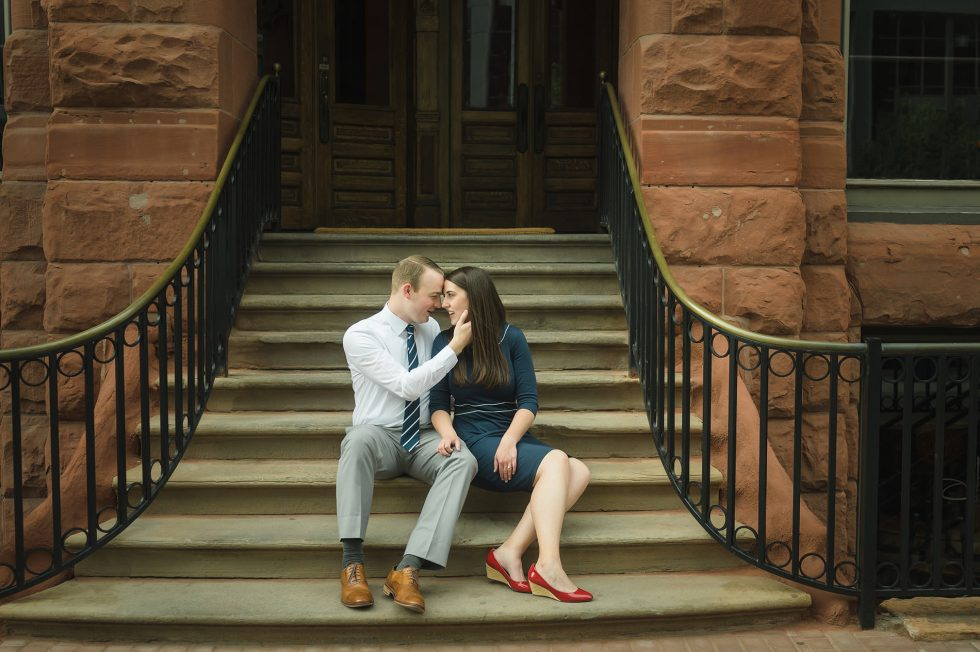
On next image, a combination of the Spot Healing Brush tool and the Clone Stamp tool allowed me to clean up the distractions from the image in Photoshop.
I cleaned up the window stickers, the items in the window, and the messy distractions on the stairs.


In this final image, I used all of the tools, the Patch tool, the Spot Healing Brush tool, the Healing Brush tool, and the Clone Stamp tool. Each was needed to complete a certain portion of cleanup in the image.
My goal was to clean up the background and ground to simply and remove anything that pulled the eye away from the couple.


